Updating siding offers more than a new color. It is an opportunity to improve the relationship between the walls, windows, roofline and entrance. This guide focuses on twelve design decisions for Clearwater Beach and nearby Pinellas County homes. “Hardy board” is a common search spelling; James Hardie’s branded exterior siding uses the Hardie name, and the exact product and installation requirements still need to be identified for each project.
Updated October 16, 2026 · MDI Custom Homes LLC · Florida Certified Building Contractor CBC1267559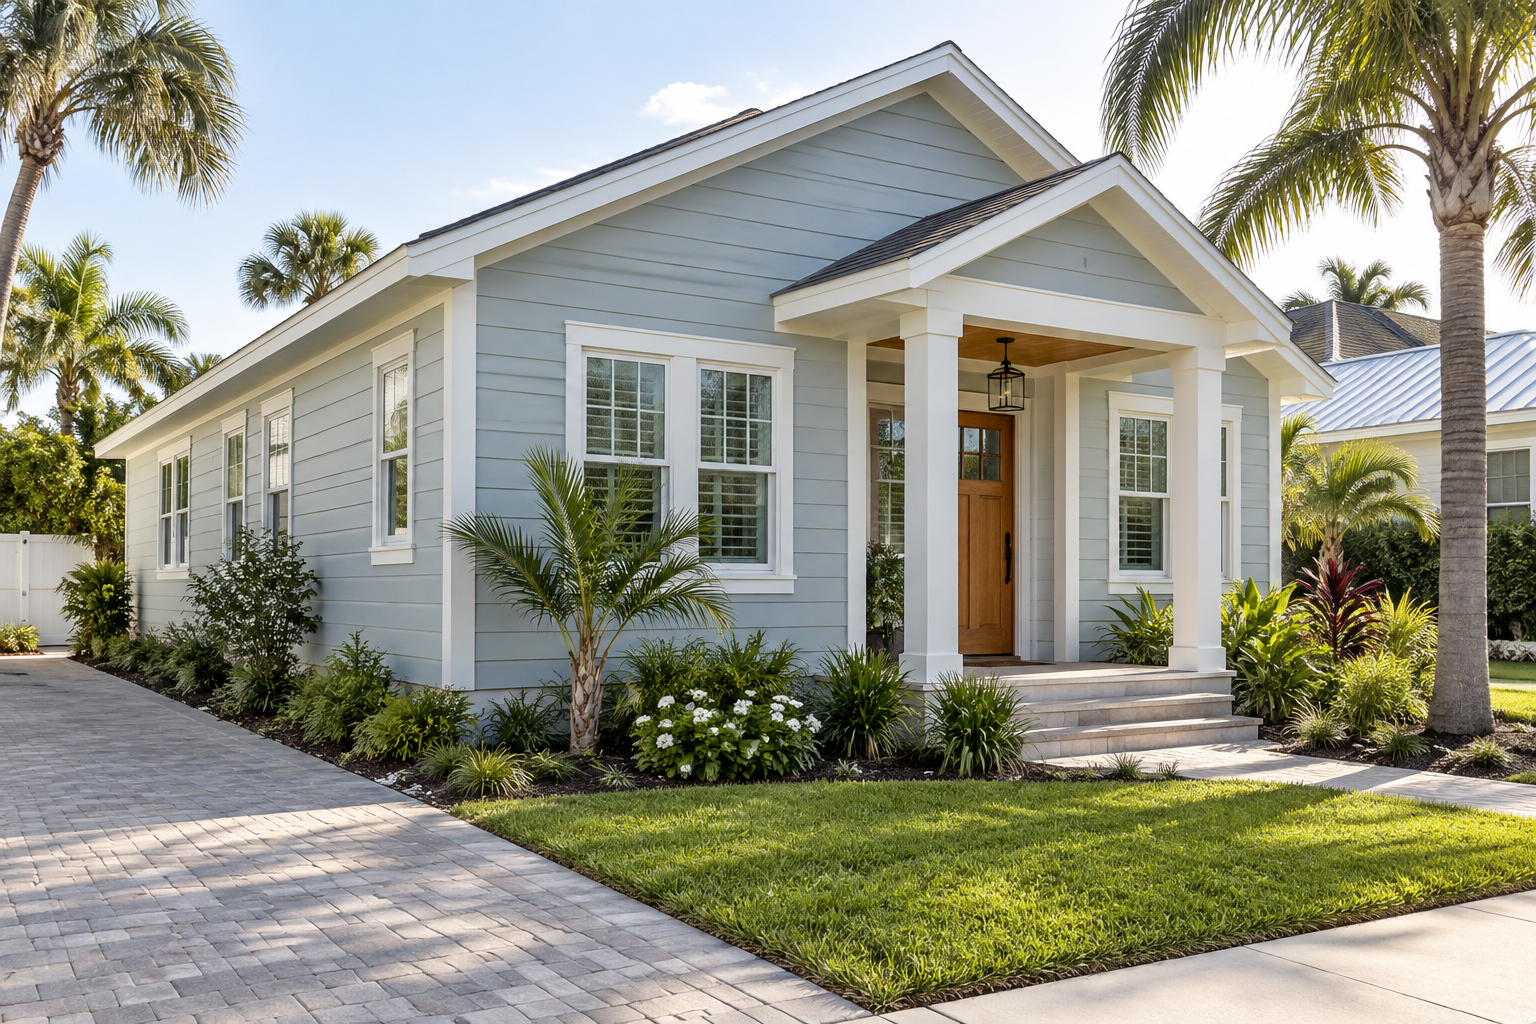
1. Build the color palette around what will remain
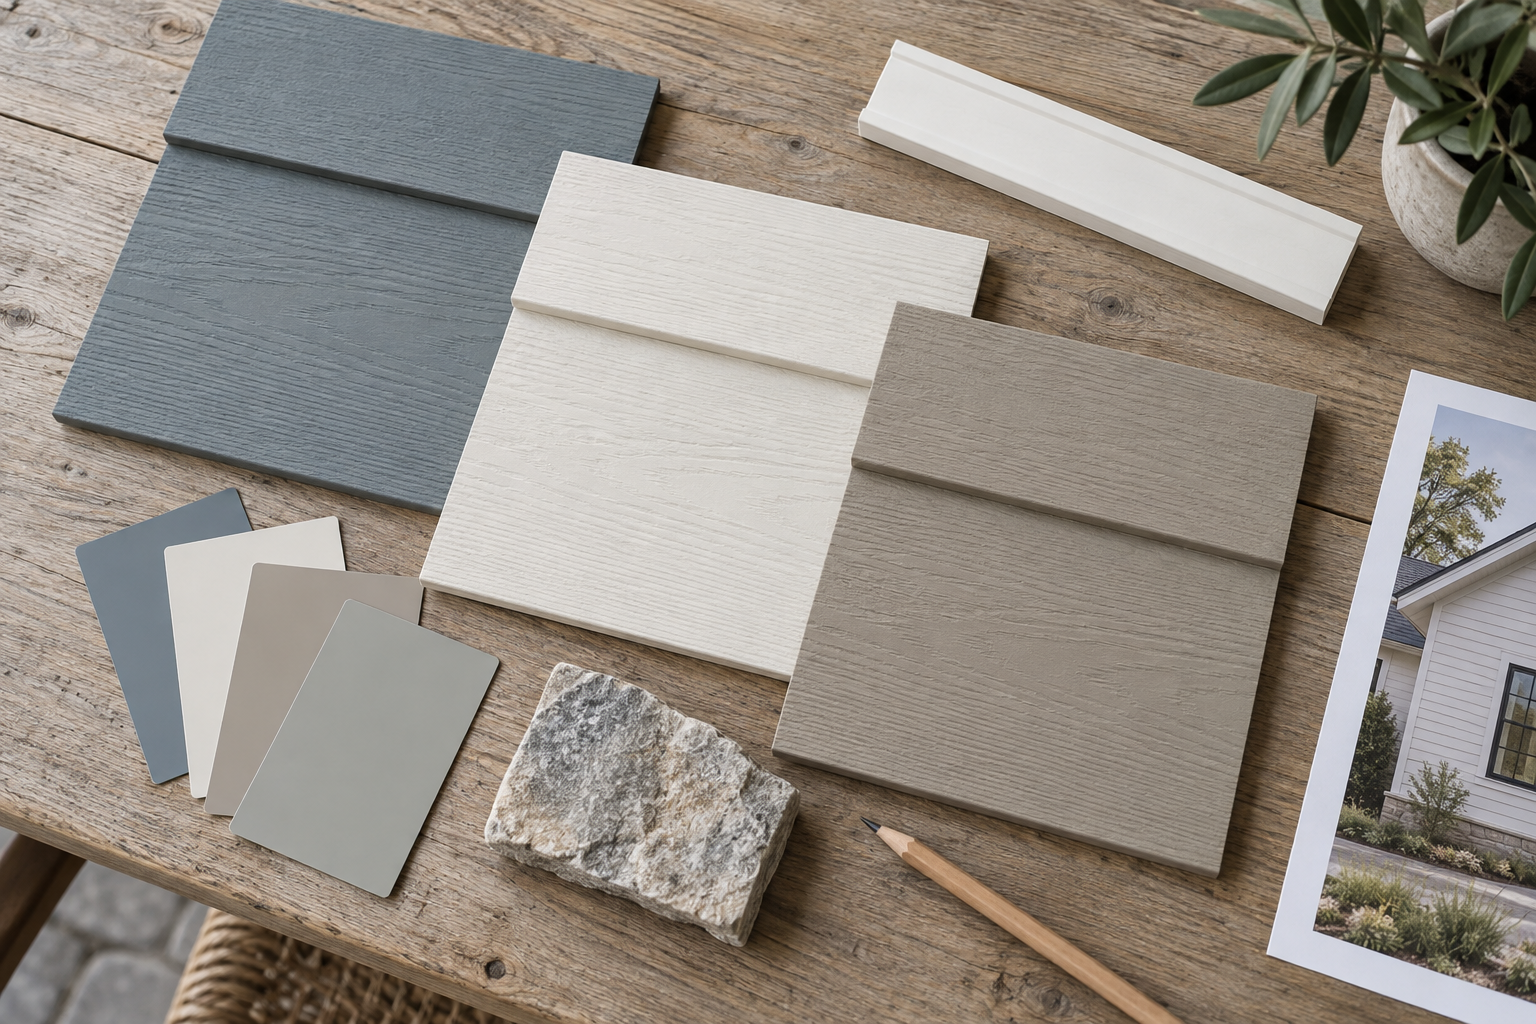
Start with the roof, window frames, paving and any retained masonry. A siding color that looks appealing on its own can compete with those fixed elements once it covers the house. Gather physical samples and view them together outdoors.
Try a small, deliberate palette: a main siding color, a trim color and an entry accent. Observe it in sun and shade before deciding. Soft coastal colors can work well, but the home’s proportions and existing materials matter more than a beach-themed color name.
2. Choose a primary siding profile
Decide which profile will establish the main character of the home: horizontal lap, a vertical panel treatment or another suitable exterior product. James Hardie’s lap-siding range is one starting point for comparing appearance, texture and available finish options.
Check the selected product’s actual dimensions and permitted installation configuration. A rendering is useful for appearance, but the proposal should name the product rather than simply promise “Hardie board.” Our fiber-cement siding planning guide covers the broader material and installation questions.
3. Match the visual scale to the building
Closely spaced horizontal lines and broad panel divisions create different visual effects. Review the proposed pattern across the whole elevation, including narrow wall areas between windows and wider uninterrupted sections.
Ask for an elevation drawing or a representative mockup showing courses, joints and trim. Resolve awkward leftover strips before installation. The aesthetic layout must remain within the selected product’s installation requirements.
4. Use a second texture at a clear architectural break
Combining profiles can distinguish a gable, an entry or a separate building volume. Limit changes to locations that make sense in the architecture, rather than scattering small accent patches across the front wall.
Show how the materials terminate and meet at each transition. Include trim, flashing and adjacent finishes in that detail. A material change introduces construction work as well as visual contrast, so include it in the scope and price.
5. Treat window and door trim as part of the composition
Trim width, depth and color influence how large or small an opening appears. Compare the proposed trim with the actual windows, door frame and wall proportions. Consistency is useful, but not every opening needs an oversized surround.
Detail the relationship between cladding, trim and water-management components. Decorative trim should not conceal an unresolved interface. Our trim and molding guide provides a useful starting point for discussing proportions and finish continuity.
6. Give the entrance a clear focal point
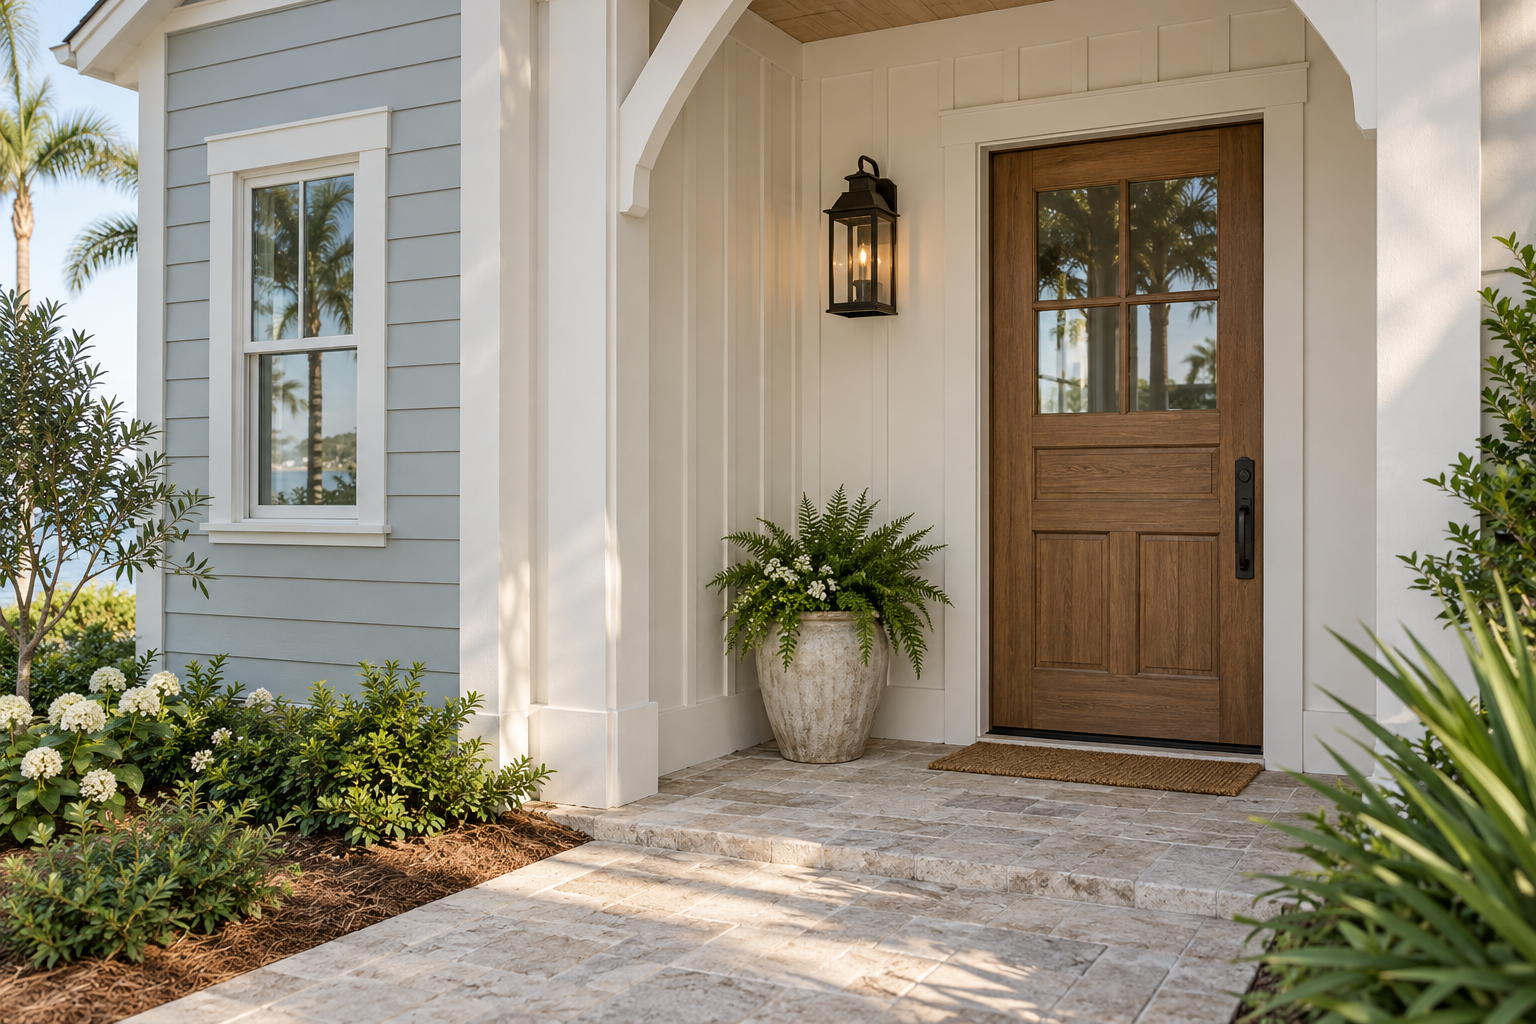
A focused color or profile change near the front door can make the entrance easier to read. Coordinate siding with the porch ceiling, door finish, lighting and walkway rather than asking one feature to carry the entire design.
Keep the proposed treatment proportionate to the entry. Review the approach from the street and from the driveway. If the plan adds or changes a porch, roof or structural element, treat that as a separate construction decision requiring the appropriate review.
7. Coordinate siding with fascia, soffits and roof edges
The wall finish should relate to the roofline. Review fascia and soffit colors, gutter locations and the trim at gables before selecting siding accents. A visually quiet roof edge can help the main wall treatment read more clearly.
Identify which existing components are being retained, repaired or replaced. Do not cover ventilation openings or assume a decorative change resolves a roof-to-wall condition. Ask the contractor to show how the relevant interfaces will be addressed.
8. Use contrast deliberately
Dark window frames, a wood door or a stone accent can give a pale exterior definition. Choose a small number of features to emphasize and let the remaining elements support them.
Consider practical maintenance as well as appearance. Review the specified finish, cleaning instructions and touch-up process. Avoid selecting multiple finishes from screen images alone, especially when they will meet at the same corner or entrance.
9. Let landscaping frame the siding
Planting and walkways influence how the exterior is seen. Leave the entrance legible and avoid hiding the most important architectural features behind mature plantings. Consider the eventual size of plants when reviewing the composition.
Coordinate landscaping and irrigation with required siding clearances, drainage and access for inspection or maintenance. Use the current product instructions to establish the construction requirements rather than choosing a generic clearance from a photograph.
10. Continue the design into porches and outdoor living areas
A porch, lanai or breezeway can feel connected to the home when its colors and trim relate to the main elevation. It does not need every exterior material repeated in the same proportion.
Decide where each finish begins and ends, how it meets floors and ceilings, and what must remain accessible. If an outdoor area is part of a larger renovation, coordinate it with whole-home planning so work is not duplicated later.
11. Review neighborhood requirements before final selections
Check applicable association requirements, property-specific restrictions and local approval processes before ordering materials. Provide actual product and color information where requested. Do not assume a neighboring house establishes what will be approved for yours.
Confirm the authority responsible for the address and whether the proposed siding and related work require permits or other review. Our Pinellas County permit assistance resource explains the coordination questions to ask. For storm-damaged property, also review the storm and flood permitting resource.
12. Choose an exterior you can maintain
Consider access for cleaning, inspecting joints and maintaining the selected finish. A complicated arrangement of small ledges and trim pieces may create more surfaces to look after. Ask for the care instructions and applicable warranty information for the exact products being installed.
James Hardie’s cleaning guidance favors a low-pressure hose and a suitable nonmetal brush rather than high-pressure washing. Follow the current instructions for the installed siding and finish, including any cleaner precautions. Low maintenance does not mean maintenance-free.
Keep records of product names, colors and installation documents with the home’s project information. A clear handover makes future touch-up or repairs easier to plan.
Turn the design into a complete siding scope
Before comparing proposals, identify the wall areas included and the related work each contractor has allowed for. Removal of existing cladding can reveal conditions that were not visible during an initial inspection. Define how those findings will be documented and handled before work begins.
| Scope item | What the proposal should clarify |
|---|---|
| Existing conditions | Removal, disposal, assessment of the exposed wall and the process for concealed repairs. |
| Wall assembly | Specified siding, substrate requirements, water-management details and relevant transitions. |
| Attachment and approvals | Applicable product documentation, project requirements and responsibility for permitting. |
| Visible details | Profiles, joints, corners, trim, finish, penetrations and connections to retained materials. |
| Completion | Required inspections, cleanup, documentation, care instructions and any remaining items. |
Use James Hardie’s technical documentation to identify the instructions for the selected product and location. Have the responsible professionals confirm the applicable design, attachment and approval requirements. A brand name alone does not establish suitability for every coastal exposure.
Compare complete scopes through our scope and cost-control guide, and coordinate the work with inspection planning. If siding is part of a wider exterior or interior renovation, our pre-construction resource helps organize the decisions.
MDI Custom Homes is a Florida Certified Building Contractor serving Pinellas County. Contact us with the property location, exterior photographs and the changes you want to make. We can discuss how the siding scope fits your home remodeling or construction project.
Coastal siding design questions
Is Hardy board the same as Hardie siding?
Hardy board is a common search spelling. Hardie is the James Hardie brand name. For a proposal, identify the exact exterior siding product, profile, finish and installation documentation rather than relying on an informal name.
Can I combine horizontal and vertical siding?
Potentially, using products and details appropriate to the project. Plan transitions at meaningful architectural locations and resolve trim, flashing and installation requirements before construction.
Does new siding guarantee higher resale value?
No specific return is guaranteed. The result depends on the property, project scope, workmanship, market and buyer priorities. Choose the design for a coherent exterior and a well-defined construction scope.
Is fiber-cement siding maintenance-free?
No. Follow the care requirements for the selected siding and finish, including cleaning, inspection and any specified maintenance. Retain the product and warranty information for future reference.
Does siding alone make a home hurricane-proof or energy-efficient?
No. Overall performance depends on the complete building and its relevant systems, design and installation. Evaluate wind, water and energy-related questions with the responsible professionals instead of assuming they follow from the siding name.
Should I choose colors before getting a siding proposal?
Bring your preferences, but finalize them with the exact product, retained finishes, samples and any required approvals. The proposal should also define preparation, related repairs, trim, installation and completion responsibilities.
Bring your project into focus.
Tell MDI Custom Homes what you want to improve, what you want to keep and what matters most. We can discuss the scope and next planning steps for your Pinellas County home.
Discuss your renovation ↗Call 727-213-7309Official resources
- James Hardie: lap siding product options
- James Hardie: installation guidance and technical documents
- James Hardie: cleaning and care guidance
Use the current official guidance and project-specific requirements when planning the work.
Design imagery is illustrative and does not depict completed MDI projects or exact manufacturer products.