
A bathroom remodel brings several trades and product systems into a small space. A change to the vanity can affect plumbing, lighting and storage; a different shower entrance can affect drainage, floor construction and glass. For homeowners in Seminole, Largo and surrounding Pinellas County communities, the strongest starting point is a coordinated plan that explains how the room will work before finishes are ordered.
Updated October 15, 2026 · MDI Custom Homes LLC · Florida Certified Building Contractor CBC1267559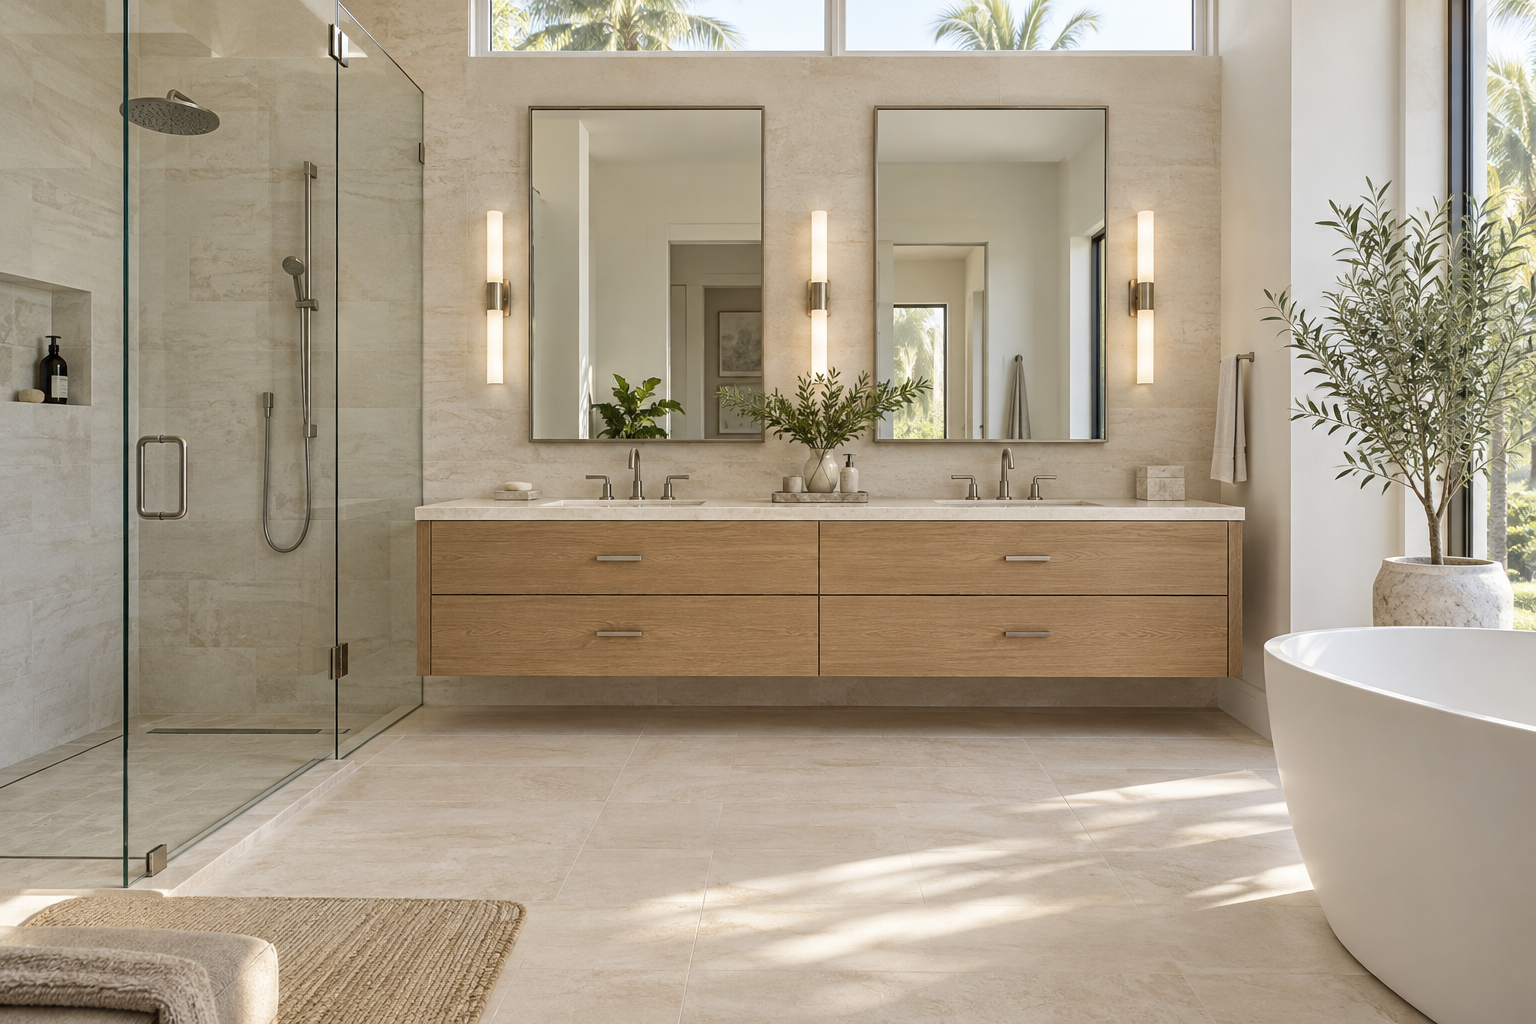
Identify what the bathroom needs to do better
Write down the problems in the existing room before collecting finish inspiration. Is storage difficult to reach? Does the door block a drawer? Is the shower cramped, the lighting uneven or the room slow to dry? Separate daily-use problems from preferences about color and style.
Identify who uses the bathroom, whether two people need it at the same time, and how those needs may change. Discuss easier entry, reachable controls, useful lighting, seating and potential future support features with the design team. These choices should be considered in the layout rather than added after walls are finished.
Create three lists: essential improvements, preferred features and optional upgrades. A double vanity, freestanding tub or large shower is useful only if it supports your priorities and fits the room. Bring the lists, approximate dimensions and photographs to the initial bathroom remodeling consultation.
Review existing conditions before fixing the layout
Document the room dimensions, ceiling heights, door and window locations, visible plumbing, electrical devices and ventilation. Review available plans and permit records where relevant. Identify known leaks, damaged finishes or previous repairs so they can be assessed as part of the scope.
Keeping fixtures near their existing locations can reduce some relocation work, but it does not establish the condition or suitability of what is concealed. Moving a drain or opening a wall may involve slab, framing or adjacent-room work. Clarify what can be verified before demolition and what remains an assumption.
Coordinate vanity drawers with basin depth and drain locations. Review shower-glass movement, room-door swings and the space needed to use fixtures and storage. A drawing should show the actual selected products and required clearances, not generic symbols alone.
If the room needs more than a cosmetic refresh, consider how interior reconfiguration or a coordinated whole-home renovation may address the underlying layout. Resolve structural questions with the appropriate professionals before committing to a design.
Treat the shower as a complete water-management assembly
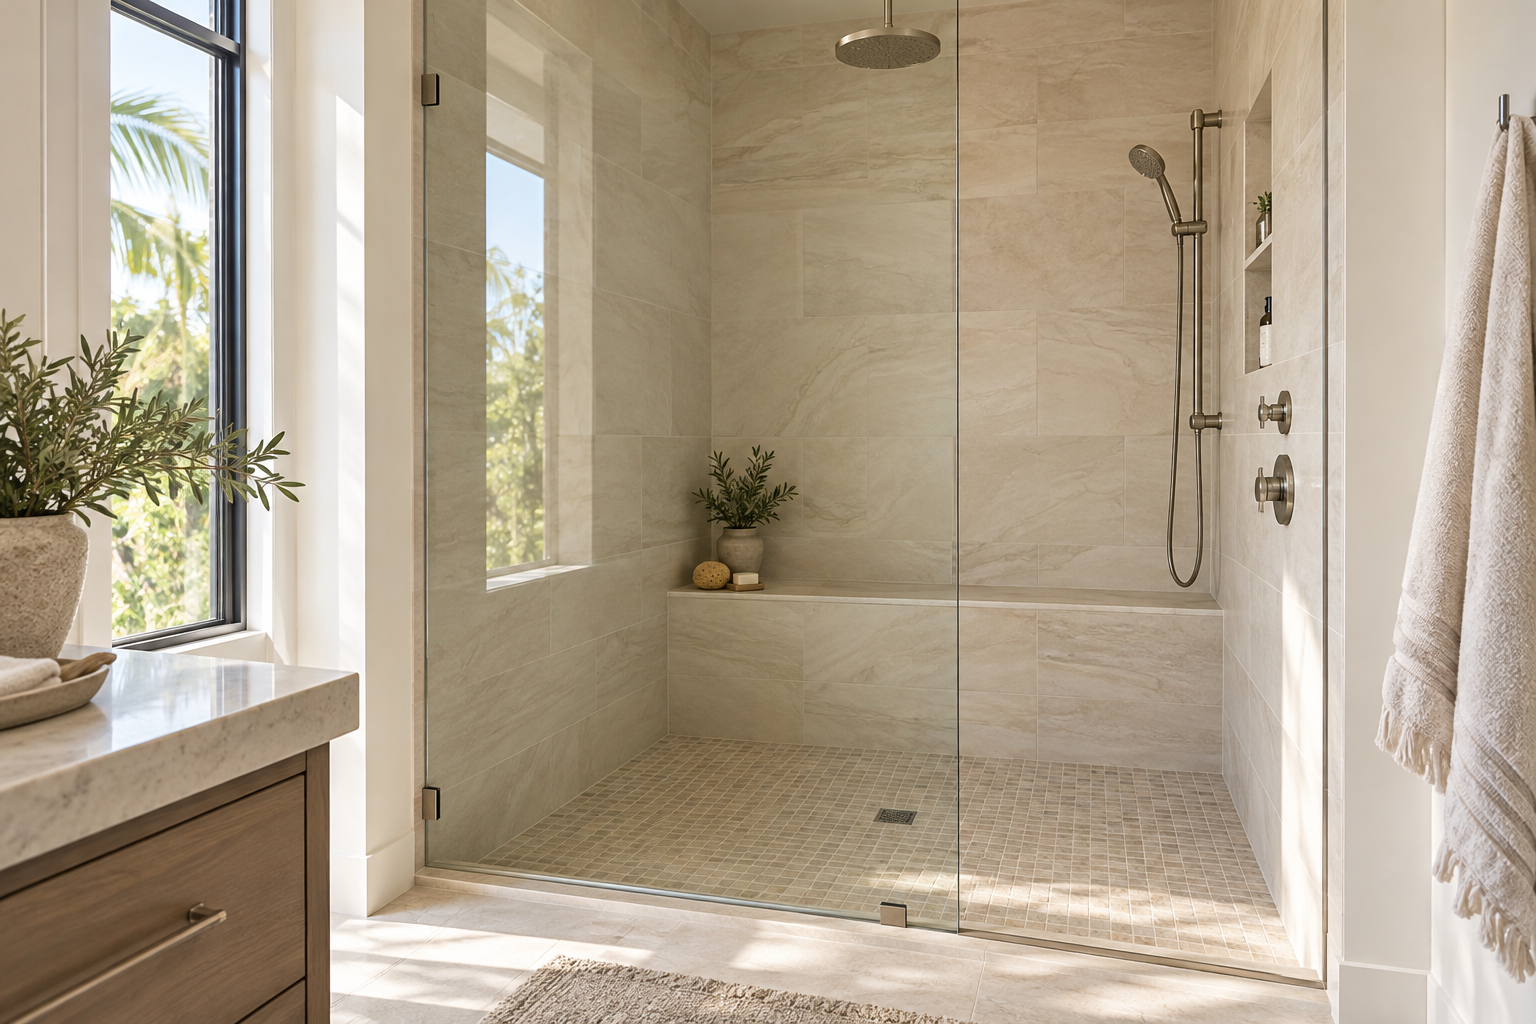
The finished tile is only one part of a shower. Ask the contractor to identify the planned assembly, including its substrate, waterproofing or water-management method, drain connection, transitions and penetrations. The components need to be compatible and installed according to the selected system’s instructions and applicable requirements.
Schluter’s shower-system resource illustrates how the base, walls, corners and connections work together in a bonded waterproofing approach. It is one manufacturer’s system, not the only acceptable assembly. Do not mix details from different methods without confirming that the proposed combination is supported.
Niches, benches, curbs and window openings add interfaces that need planned details. A curbless entrance also requires coordination of the floor structure, drainage, slopes and water containment. It should not be treated as simply deleting the curb from an otherwise unchanged shower.
Ask when the assembly will be checked and which water testing or inspections are required before it is covered. Follow the selected products’ preparation, curing and testing instructions. Photograph relevant concealed work as part of the contractor’s project records, and keep the system information for future maintenance.
Coordinate ventilation and lighting with the room
Ventilation should be planned alongside the shower and finishes. Confirm the fan’s suitability for the room, the duct route, the exterior termination and the controls. The U.S. Department of Energy’s ventilation guidance states that bathroom exhaust should discharge outdoors rather than into an attic.
A grille in the ceiling does not prove that the complete system performs as intended. Ask the contractor to review the existing route and installation, including access for maintenance. Coordinate the chosen fan and controls with the electrical scope and applicable requirements.
Plan lighting by task: comfortable general illumination, useful face lighting at the mirror and suitable lighting in wet areas. Review fixture ratings, placement, switching and dimming with the electrical professional. Confirm mirror dimensions, medicine-cabinet depth and light locations together.
Decision to resolve early: a recessed mirror cabinet can conflict with framing, plumbing or wiring. Establish whether it is feasible before treating it as an interchangeable decorative purchase.
Choose compatible fixtures, cabinetry and finishes
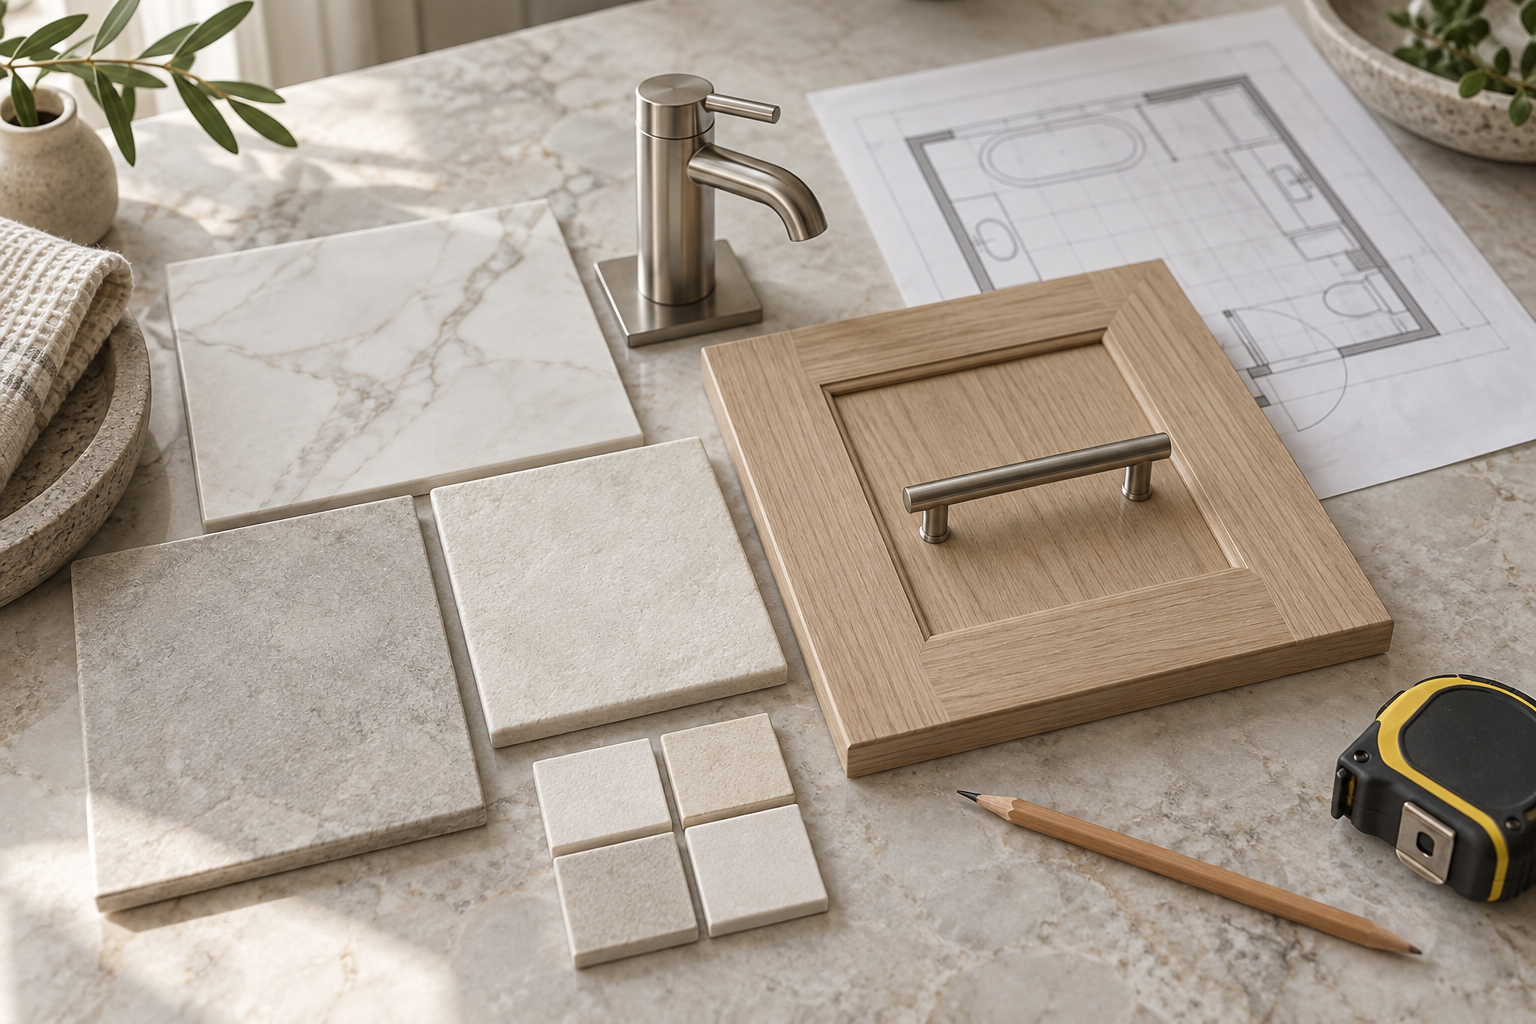
Build a selection schedule with the exact models, dimensions, finish, supplier and approval status. Include the tub or shower base where applicable, valve and trim, shower fittings, toilet, basin, faucet, vanity, countertop, tile, glass, mirrors, lighting and accessories. Related pieces sold separately still need to work as a coordinated set.
Check faucet reach and clearance with the basin, vanity drawers with plumbing, shower controls with glass and reach, and tile size with the intended floor geometry. Ask the tile supplier about suitability for the location, cleaning and maintenance. A finish selected for a wall may not be suitable for a shower floor.
For water-efficient fixtures, EPA’s WaterSense label identifies products independently certified to meet water-efficiency and performance criteria. Verify the selected model rather than assuming every product from a brand has the same designation.
Review physical samples together under the room’s lighting. Compare sheen, texture, grout appearance, metal finishes and cabinet color. Our cabinet materials and quality guide provides additional questions for choosing a vanity and storage package.
Budget for the full renovation, including uncertainty
Price the complete scope rather than adding up retail fixtures. Include demolition and disposal, protection, necessary repairs, plumbing and electrical work, ventilation, the shower assembly, tile, cabinetry, surfaces, glass, painting, installation and closeout. Identify design services, permits and owner-supplied items where applicable.
Separate confirmed selections from allowances. An allowance should identify the item or work it covers and how a final selection changes the price. Confirm whether delivery, installation and related parts are included. A fixture allowance that excludes its supporting work can make two quotes appear more comparable than they are.
Set the approach to contingency around the home’s conditions and unresolved scope. A single percentage is not a substitute for discussing the specific unknowns. Agree on how a concealed-condition discovery will be documented, priced and approved before the affected work proceeds.
Use pre-construction planning and scope definition and cost control to connect the design, selections and price. Consider the practical cost of temporary bathroom arrangements as part of your own planning.
Confirm permits and the sequence before demolition
Confirm the authority serving the property and the approvals required for the actual scope. Pinellas County’s residential permit information includes kitchen and bathroom remodeling resources for county-administered projects. A municipality may administer your project instead; verify the address rather than assuming one process covers every Pinellas County home.
Review the sequence with the contractor: site protection and demolition, condition assessment, framing or layout work where needed, rough plumbing and electrical, required inspections, substrate and water-management work, tile and finishes, fixture and glass installation, final checks and closeout. The exact order depends on the project and chosen systems.
Identify the decisions and deliveries each stage depends on. Custom cabinetry, special-order fixtures or glass fabrication can affect later tasks. Confirm availability before demolition where practical, and discuss how delays or substitutions will be handled.
Plan access, working hours, dust protection, deliveries and the household’s alternate bathroom. Keep responsibility for inspections and site coordination explicit. A single promised finish date is less useful than understanding what allows the work to advance.
Check operation and collect the handover information
At the walkthrough, review the completed room against the scope and approved selections. Check fixture operation, visible connections, cabinet and drawer movement, glass operation, lighting, ventilation controls and finish details with the contractor. Record outstanding items and the plan for resolving them.
Confirm required final approvals and collect product instructions, finish information, warranty documents and care guidance for the installed shower system and surfaces. Follow the specified waiting periods before using newly installed or sealed materials. Different products have different requirements.
Our project-closeout guide explains how to organize the records. Keep the information accessible for maintenance and future work rather than relying on a product photo or memory.
MDI Custom Homes LLC, Florida Certified Building Contractor CBC1267559, plans and coordinates high-end bathroom renovations, kitchens and whole-home remodeling in Seminole, Largo and surrounding Pinellas County communities. Tell us what is not working in your current bathroom and what you want the renovated space to do better.
Bathroom planning questions
What should I decide first in a bathroom remodel?
Define the room’s users, daily-use problems and essential improvements. Then review existing conditions and a workable layout before committing to fixtures and finishes.
Can I keep the plumbing locations and still make major improvements?
Often a bathroom can gain better storage, lighting, ventilation and finishes without relocating every fixture. Confirm the condition of existing systems and coordinate the selected products before finalizing the scope.
Is a curbless shower only a style choice?
No. It also requires coordination of floor construction, drainage, slopes, water containment and the shower assembly. Review feasibility and applicable requirements before choosing the final design.
How much contingency should I set aside?
Base the discussion on the home’s conditions, the amount of investigative work and the unresolved scope. Agree on how discoveries will be documented and approved; a standard percentage alone does not explain the project’s uncertainty.
Does a bathroom remodel in Pinellas County need a permit?
Requirements depend on the work and the authority serving the property. Describe the complete scope, including plumbing, electrical, ventilation or structural changes, and confirm the approvals before work begins.
Bring your project into focus.
Tell MDI Custom Homes what you want to improve, what you want to keep and what matters most. We can discuss the scope and next planning steps for your Pinellas County home.
Discuss your renovation ↗Call 727-213-7309Official resources
- Pinellas County: residential permits
- Schluter: tiled shower waterproofing systems
- U.S. Department of Energy: home ventilation guide
- EPA: the WaterSense label
Use the current official guidance and project-specific requirements when planning the work.
Design imagery is illustrative and does not depict completed MDI projects.
