
A modern bathroom can look quiet and simple while containing many coordinated decisions behind its walls and finishes. Walk-in showers, floating vanities, larger tile and connected controls each bring different requirements. For a Pinellas County remodel, the useful question is how a feature will work in your existing home and daily routine—not whether it appears in a trend list.
Updated October 15, 2026 · MDI Custom Homes LLC · Florida Certified Building Contractor CBC1267559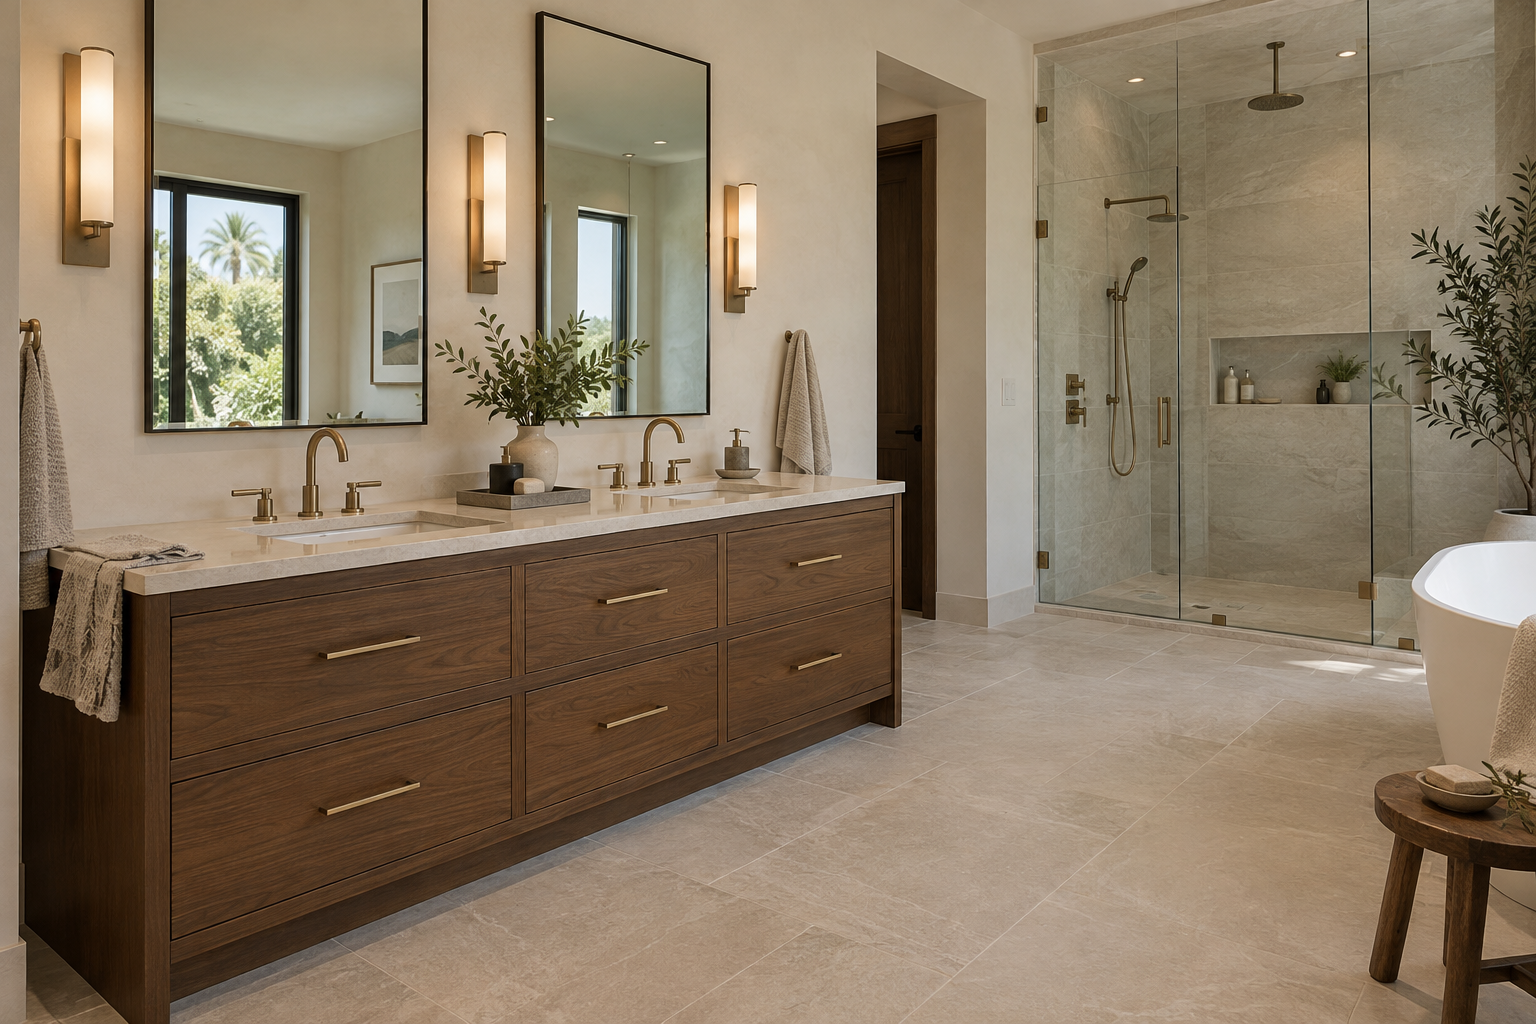
1. Choose features around the way the bathroom is used
Begin with the people and routines the room must serve. A shared primary bathroom may need separate preparation areas and organized storage. A guest bathroom may benefit more from a straightforward layout and easy-to-clean surfaces. A compact room may need improved circulation before it needs another fixture.
Compare a tub and a larger shower against actual use. A freestanding tub needs space for entry, cleaning around it and the selected filler arrangement. It also requires coordination of its weight, drain connection and service requirements. A larger shower is useful only when the room still provides workable access to the vanity, toilet and storage.
Identify which visual choices are easiest to change later. Paint, towels and some accessories can carry a stronger color, while the layout, concealed systems and fixed surfaces deserve longer-term consideration. Review samples together; the words modern or luxury do not establish durability or suitability for a wet area.
Our custom bathroom design ideas provide examples of room features. Use the bathroom remodeling planning guide to connect those ideas to the project scope.
2. Understand what a curbless shower changes
A curbless shower has no raised threshold at its entry. That can support easier movement and a visually continuous floor, but the water-management design becomes especially important.
Schluter’s curbless shower guidance explains that the floor assembly, drainage and waterproofing must work together. Existing floor elevations and construction influence whether the design can use a recessed shower floor, a ramp or a raised surrounding floor. The appropriate solution depends on the building and selected system.
Removing the curb does not by itself make the room accessible. Review the overall layout, usable clearances, controls and the intended users’ needs with the design team. Do not assume a flush-entry design also means a doorless shower will contain spray in the available space.
Before changing a floor or structural component, review feasibility with the contractor and the appropriate design professionals. Coordinate the proposal with any structural work and interior reconfiguration already under consideration.
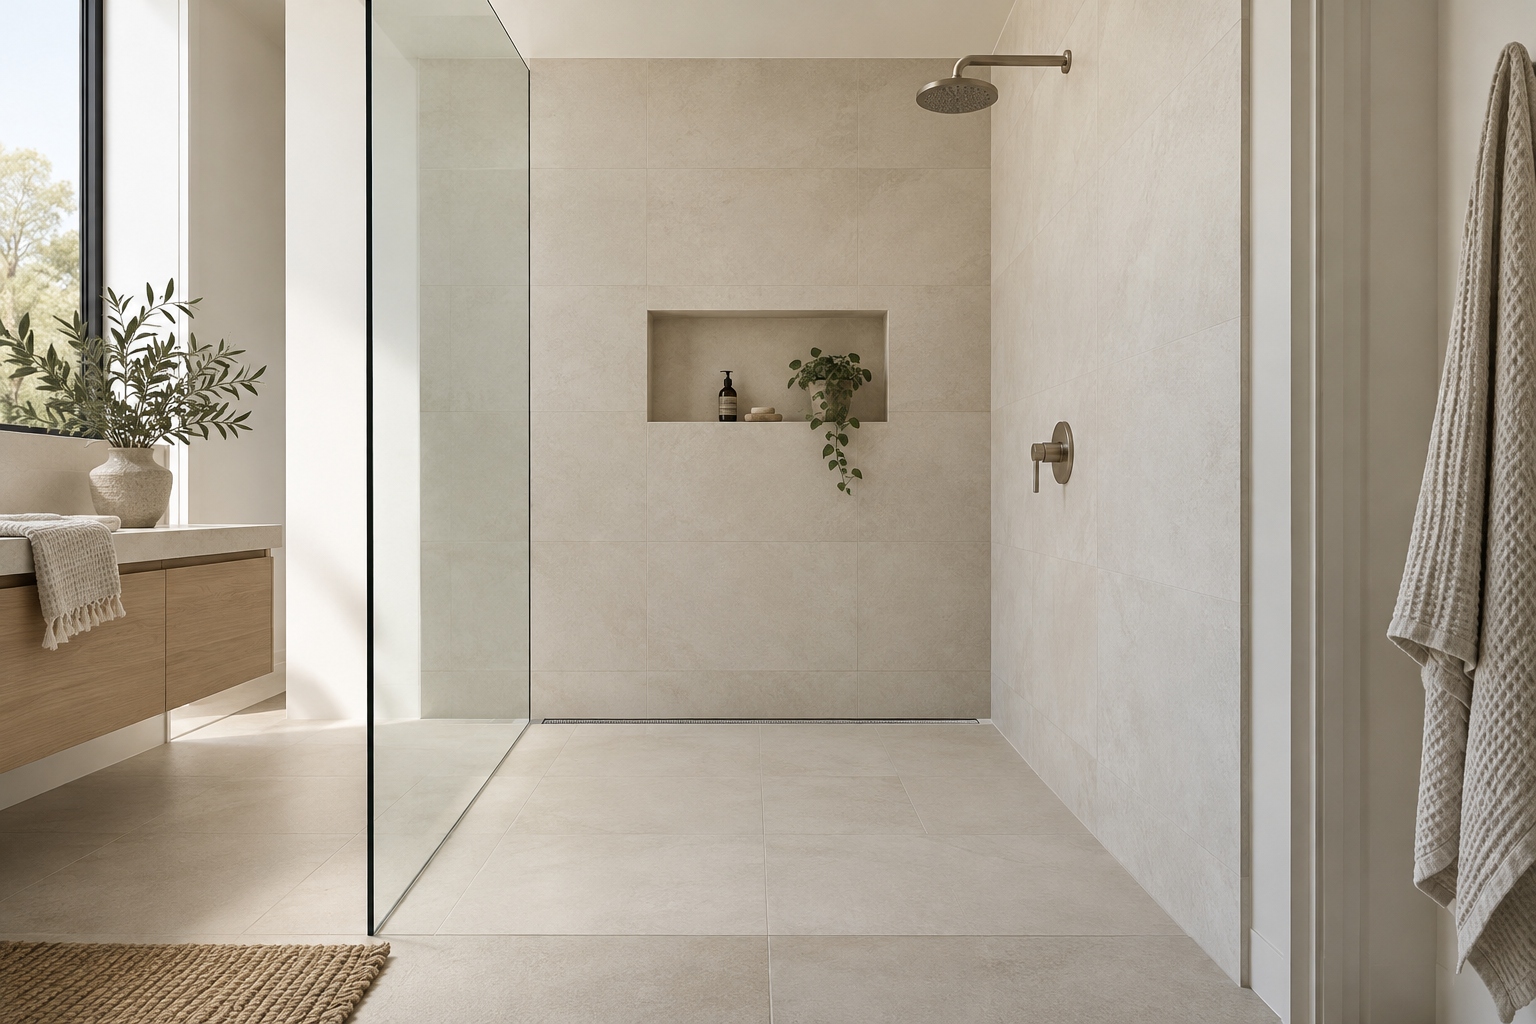
3. Specify the shower assembly beneath the finish
Tile selection and waterproofing are separate parts of shower planning. Schluter’s shower-system guidance describes the need for a waterproofing system with tiled showers. The selected materials and their connections should follow the applicable manufacturer’s instructions and project requirements.
Ask how the proposed system addresses the floor, drain connection, wall transitions, penetrations, niches and any bench. Include required testing or inspection steps in the sequence before finishes conceal the assembly. The goal is a coordinated system with documented installation requirements.
Larger tile, linear drains and recessed niches should be chosen with their construction details in mind. Discuss the substrate, drain location, tile layout and cuts with the installer before ordering. A niche position may conflict with framing or a utility; an attractive drawing does not establish that the wall cavity is available.
For a steam shower, use a design and product system specifically appropriate for that application. Confirm the enclosure, vapor-management, equipment and service requirements before treating it as an ordinary shower with a steam generator added. The inspection coordination resource explains why concealed work and approvals must be planned together.
4. Plan ventilation as part of the remodel
A quiet fan with suitable controls can make ventilation easier to use, but product selection is only part of the decision. Have the team review the room configuration, required airflow, duct arrangement, outdoor termination and replacement-air path. Confirm the installed system against the applicable requirements and manufacturer instructions.
The Home Ventilating Institute’s bathroom guidance recommends continuing ventilation for 20 minutes after use; a timer is one way to support that operation. HVI also distinguishes smaller rooms from larger bathrooms with multiple fixtures when making airflow recommendations. Those guidelines inform planning but do not replace the requirements for the particular project.
Locate controls where they are practical to use and discuss whether a timer or humidity control suits the household. When the bathroom is part of a condo or another shared building, confirm the existing exhaust arrangement and what modifications are permitted before selecting equipment.
If dampness or staining is already present, investigate its source before installing new surfaces. Improving appearance alone does not resolve a leak or an ineffective exhaust system.
5. Compare verified fixture performance
Use product specifications when comparing water-saving fixtures. The EPA states that WaterSense-labeled showerheads use no more than 2.0 gallons per minute and are independently certified for efficiency and performance. That gives you a specific basis for comparison instead of relying only on a general eco-friendly claim.
Match the showerhead, valve, controls and other components as a compatible system. If the design includes multiple outlets, ask the plumbing professional to review the intended simultaneous operation and the implications for water delivery and hot-water demand.
For faucets, review the relationship between the spout, sink bowl and counter. A beautiful fixture can be inconvenient if its reach or height does not suit the selected basin. For a toilet, compare the exact model’s dimensions, connection requirements, controls and service access.
A sensor or digital control is a convenience feature, not proof of water savings by itself. Confirm the selected product’s ratings and how it operates in normal use. Avoid making a purchasing decision based on an assumed utility-bill payback that has not been calculated for the household.
6. Make the vanity useful behind its clean lines
A floating vanity can reveal more floor and create a lighter appearance. Its support, anchorage and plumbing arrangement must be resolved for the selected cabinet and wall construction. Identify those requirements before the wall is closed and before the vanity is ordered.
Check usable storage dimensions around sink bowls, drains and supply lines. A wide drawer front does not necessarily mean an equally wide unobstructed drawer interior. Decide where daily items, electrical grooming devices, cleaning supplies and towels belong.
| Feature | Planning detail to resolve |
|---|---|
| Floating vanity | Support, anchorage, height, plumbing position and access beneath the cabinet. |
| Double vanity | Two working areas, sink and faucet relationships, storage and door or drawer conflicts. |
| Recessed storage | Available wall depth, framing, utilities and the finished opening. |
| Tall linen cabinet | Door operation, shelf reach, ventilation where appropriate and room circulation. |
| Integrated charging | Suitable products, electrical design, access and the intended location of devices. |
Compare finish care requirements as carefully as the appearance. Our quality cabinetry guide explains component specifications, and the white shaker cabinet guide discusses vanity layout and finish selection.
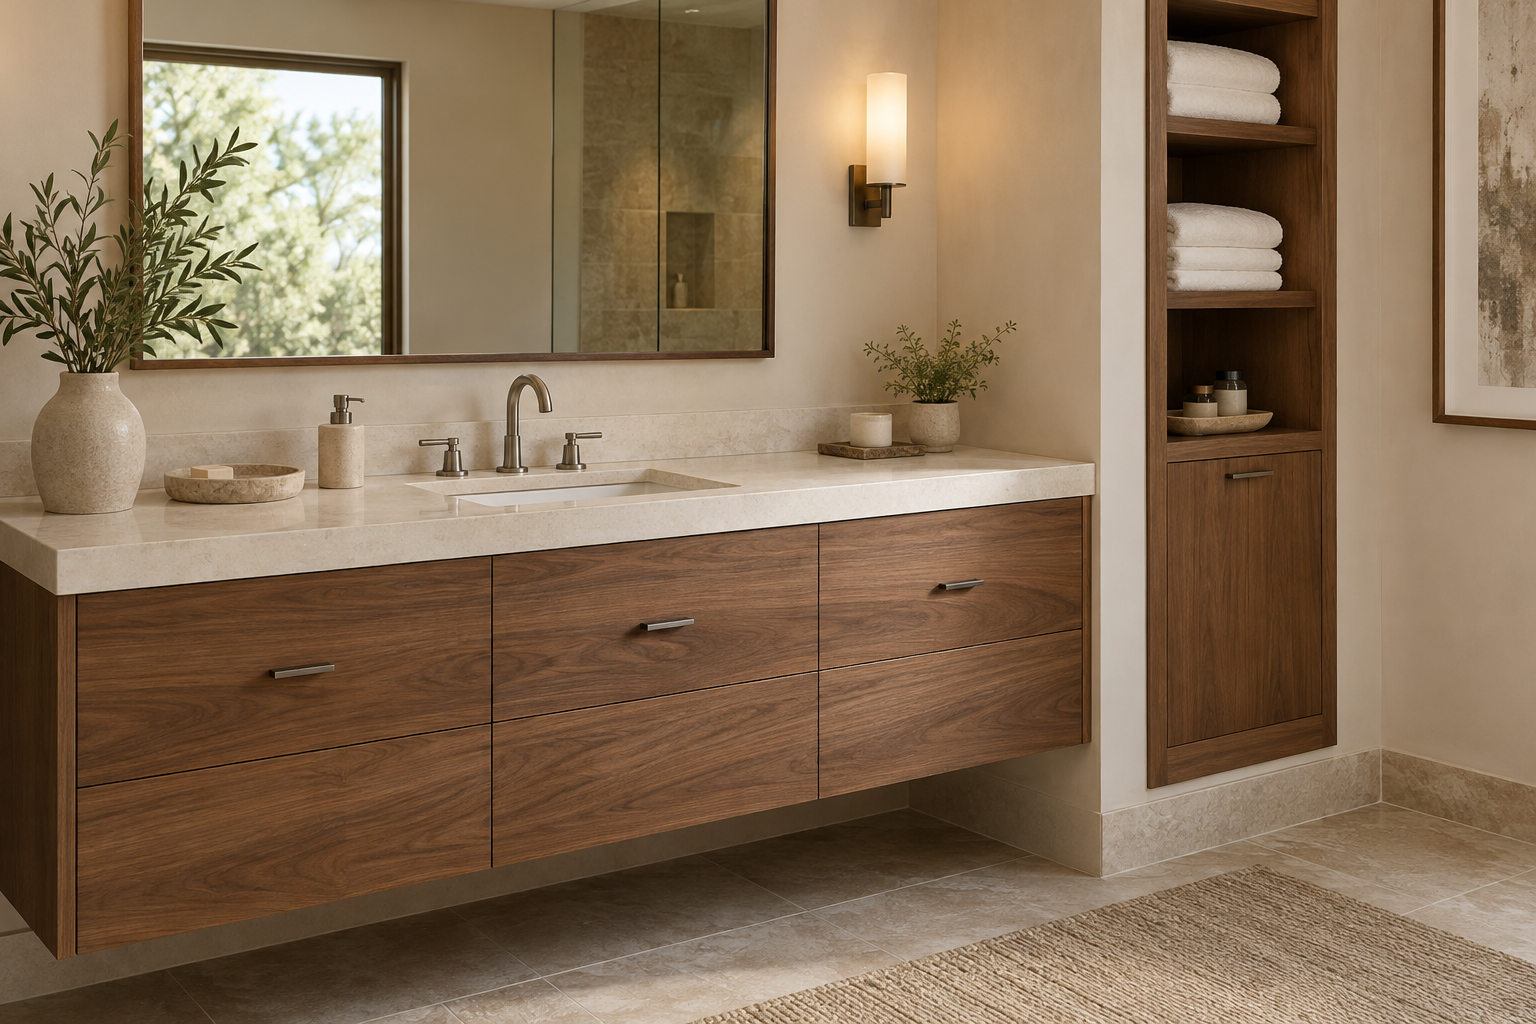
7. Coordinate lighting and technology before installation
Plan lighting for the tasks performed in the room. Mirror lighting should support grooming, general lighting should make circulation comfortable, and any accent lighting should complement those functions. Review the actual fixture location with the mirror, cabinet and user positions.
Choose fixtures and electrical components suitable for their intended locations and have the electrical professional confirm installation requirements. A decorative fixture shown near a tub in an inspiration image is not evidence that it can be installed in the same relationship in your bathroom.
For connected mirrors, digital shower controls or heated floors, discuss power requirements, compatible controls and access for future service. Ask which functions depend on an app or internet connection and which remain available through local controls. Keep model information and operating instructions after installation.
Simple, clearly located controls can be preferable to features that add complexity without improving daily use. The best combination is the one the household understands and will use consistently.
8. Approve the complete room before ordering individual features
Bring the floor plan, elevations, fixture specifications and finish selections into one coordinated review. Confirm which decisions affect concealed work so they are settled before installation reaches that stage. A changed sink, valve or vanity can affect plumbing, electrical locations, tile layout and the schedule.
Review the proposed scope with the responsible permitting authority and, where applicable, the condominium association. Allow for the documentation, inspections and access requirements that apply to the property. A photograph or product selection list does not replace that review.
- Before demolition: settle the scope, document what remains and identify decisions requiring investigation.
- Before concealed work is closed: confirm approved locations, support, system requirements and necessary inspections.
- Before finish installation: coordinate tile, cabinetry, glass and fixture details with the actual site conditions.
- At handover: review operation, remaining items, care instructions and project closeout information.
MDI Custom Homes provides bathroom remodeling and whole-home renovations in Pinellas County. For a Seminole, Largo, Pinellas Park or nearby coastal property, discuss your bathroom priorities before committing to features that change the construction scope. Our project scheduling guide and closeout resource explain the coordination around installation.
Modern bathroom remodeling questions
Is a curbless shower always possible in an existing bathroom?
Feasibility depends on the floor construction, elevations, drainage, waterproofing system and room layout. Have the design and construction team evaluate the existing conditions before selecting a solution.
Does a curbless shower automatically make a bathroom accessible?
No. Removing the raised entry is one consideration. Overall clearances, fixture placement, controls and the intended users’ needs also matter.
Does shower tile replace the need for waterproofing?
No. Plan the waterproofing system and its connections beneath the finish, following the selected system’s instructions and project requirements.
How long should a bathroom fan run after use?
The Home Ventilating Institute recommends 20 minutes after bathroom use. Confirm the operating approach for the installed ventilation system and any project-specific requirements.
What does the WaterSense label mean for a showerhead?
EPA states that labeled showerheads use no more than 2.0 gallons per minute and are independently certified to meet water-efficiency and performance criteria.
What should be checked before ordering a floating vanity?
Confirm the required wall support and anchorage, cabinet height, plumbing arrangement, usable storage and access for installation or service.
Bring your project into focus.
Tell MDI Custom Homes what you want to improve, what you want to keep and what matters most. We can discuss the scope and next planning steps for your Pinellas County home.
Discuss your renovation ↗Call 727-213-7309Official resources
- Schluter: curbless shower planning
- Schluter: tiled shower systems
- Home Ventilating Institute: bathroom ventilation
- U.S. EPA WaterSense: showerheads
Use the current official guidance and project-specific requirements when planning the work.
Design imagery is illustrative and does not depict completed MDI projects or exact manufacturer products.
